
Write posts for your public website. Tap Blog in the menu. Posts you publish appear on the live site after a ~2-minute build, and the SEO bits are handled for you.
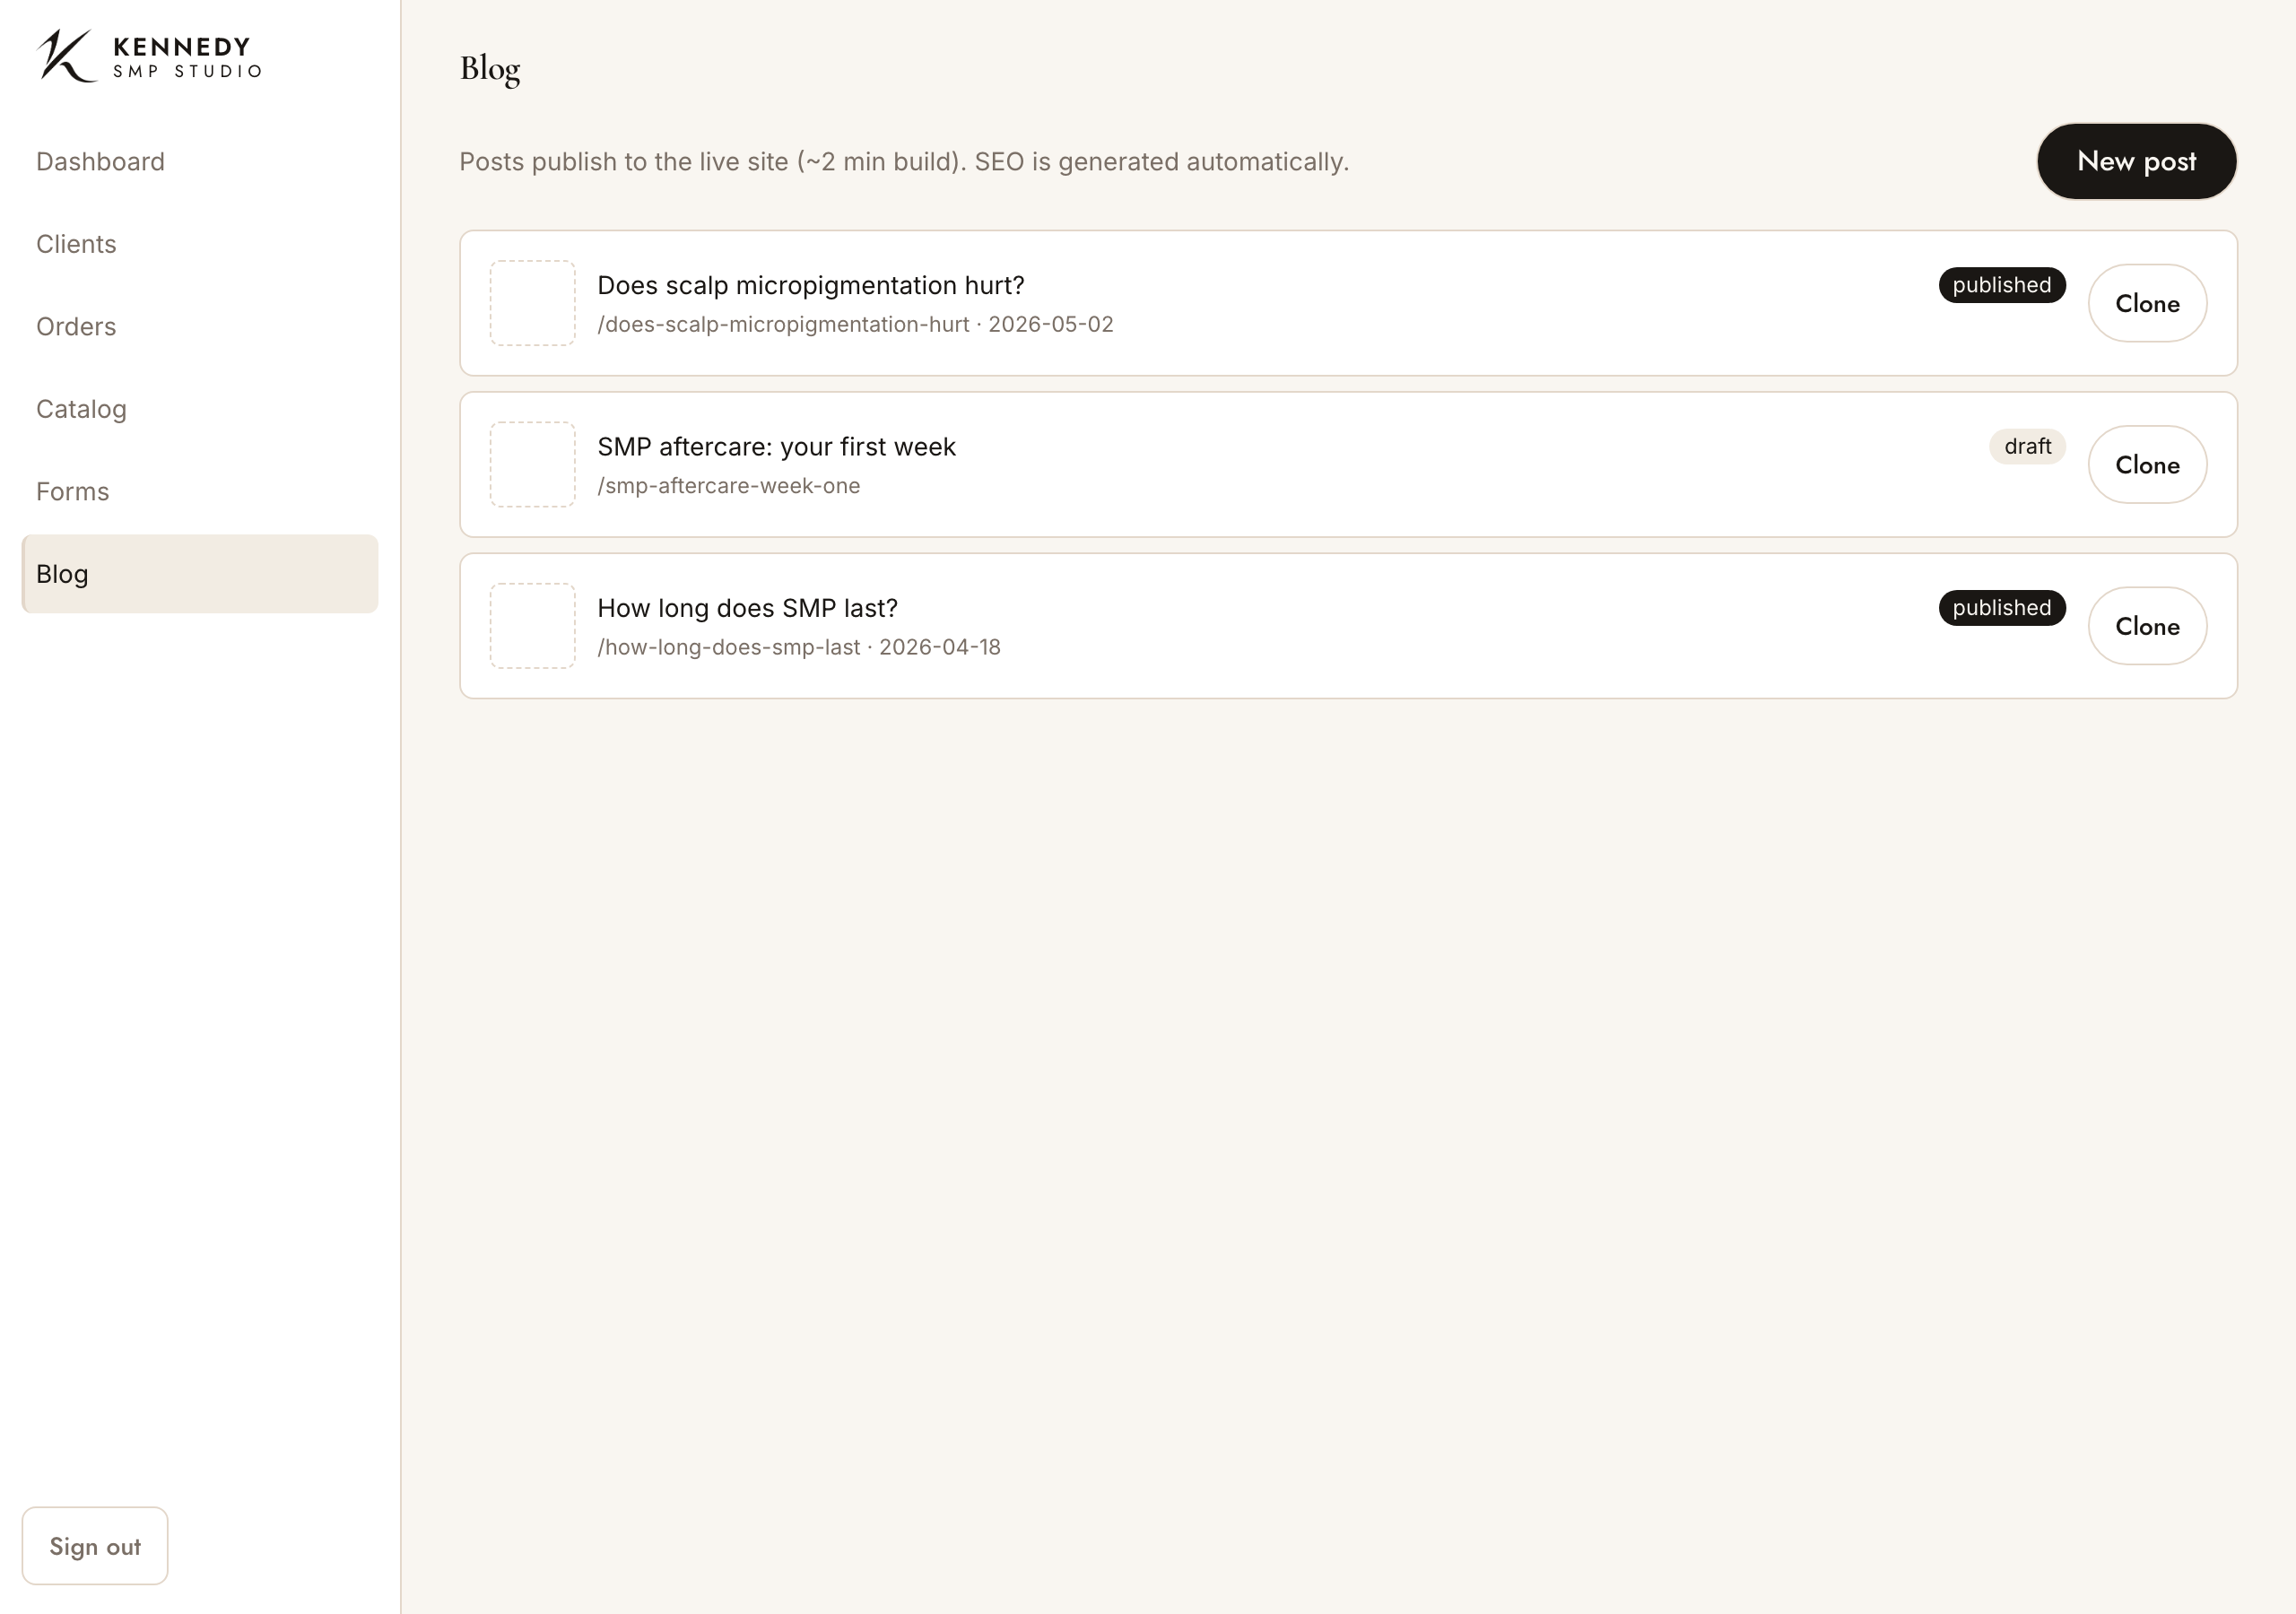
Each post shows a draft or published tag. Tap a post to edit it, Clone to duplicate one as a new draft, or New post to start fresh.
Start a post — three ways
Tap New post, then begin however suits you:
-
Write it yourself — just type a Title and start writing in the Content editor (headings, paragraphs, lists, quotes, images).
-
Stuck for a topic? Tap “New idea”. You’ll get a handful of suggestions, best first. Add an optional steer (e.g. aftercare, costs) or leave it blank, then Generate ideas — it takes a few minutes. Each suggestion shows a score out of 100, a type (how-to, FAQ, story, comparison and so on, so you get a good mix), and a short note on why it scored that and how to make it stronger. Tap Use this idea on the one you like and it fills in the brief for you.
-
Let it draft for you — tap “Generate with AI”. Fill in a short brief and a complete first draft is written for you to edit:
- Topic / working title — what the post is about.
- Focus keyword (optional), Key points to cover, and Audience / angle.
- Must-use facts — only the prices, timings or figures you put here will be used. Leave it blank and the draft adds a clear “[Stephen to confirm]” note instead of guessing.
- Tone (plain, reassuring or conversational) and a Rough length.
Tap Generate draft. It takes a few minutes and drops straight into the editor as a draft — you can carry on working while it runs. Any photos come in as placeholders that describe the picture to add, so you know exactly what to upload.
Your work is auto-saved locally as you type, so a dropped connection won’t lose it — if that happens, next time it offers to restore your draft.
Add the finishing touches
Pick a Hero image (and add Hero alt text), an Eyebrow (the small line above the title), and a Footer call-to-action. Leave any of these blank to use the site default. If a draft was generated for you, a note suggests the hero photo to add.
Polish it for search (optional)
Tap Optimise for SEO. It reviews the post in the background (the button shows “SEO review running…”), then opens a review panel: a detected focus keyword, plus tick-box suggestions for each field (title, meta title, description, excerpt, web address, hero alt) and for the body — each shown as your version → the suggestion with a short “why”.
Tick only the suggestions you want and tap Apply selected (or keep everything as-is). Changed your mind after applying? Revert to my version. You don’t have to use this at all — basic SEO is generated automatically when you save either way. This step also fills in your Social posts captions below.
Social posts
Ready-to-paste captions for Facebook, Instagram, TikTok and LinkedIn, each with the studio’s contact details. Run Optimise for SEO to fill them in (or write your own), tweak the wording, then tap Copy and paste into each platform. They save with the post.
Preview, then publish
- Preview shows exactly how the post will look on the site.
- Save draft keeps it private; Publish (or Update for a live post) puts it on the website. Going live asks you to confirm.
- A post can only be published once it’s been through Optimise for SEO — that keeps every live post tidy.
- If you change the web address of a post that’s already live, it warns you and sets up an automatic redirect from the old link to the new one, so nothing breaks.
- Delete removes the post from the live site on the next build.
Tip: the blog reads and writes to your website’s content store, so it only works on the live admin — if you’re ever shown it on a test/preview setup it may say it can’t load the posts. That’s expected; use the live admin for blogging.